
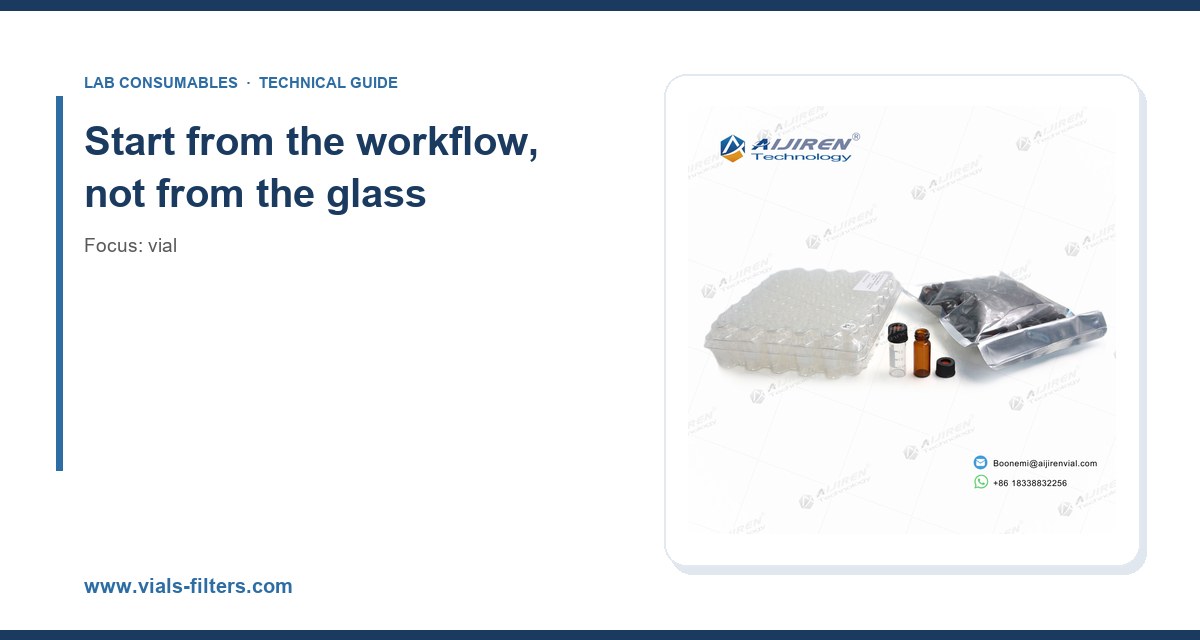
I have watched a lab spend four months chasing a ghost peak that turned out to be a plasticizer leaching from the wrong cap liner. I have also seen a validated EPA method fail a performance evaluation because someone bought a case of vials with a 0.5 mm shorter neck than the previous lot, which changed the autosampler needle depth and the injection volume. Neither of those failures had anything to do with the instrument. Both were vial selection problems. So when a procurement manager asks me to help them standardize a vial across a lab, I start with the workflow, not the catalog. This guide is how I do that, with the numbers I actually use.
A vial is a container, a seal, and a dimensional interface to an instrument. Those three jobs fail in different ways, so the first question is always: what touches this vial after I fill it? If the answer is a human with a pipette, you have one set of constraints. If the answer is an autosampler needle, a heated headspace oven, or a mass spectrometer inlet, you have very different ones.
I sort every request into one of five workflow families before I quote anything. Each family has a default geometry and a default closure, and I only deviate when the method or the sample forces it.
- Direct injection HPLC or UHPLC: typically 12 x 32 mm crimp or screw-thread vial, 1.5 to 2.0 mL nominal, 9 mm closure. Clear glass Type I borosilicate for UV detection above 300 nm; amber for anything light-sensitive.
- GC liquid injection: 2.0 mL vial, 9 mm screw thread or crimp, with a liner chosen for the inlet and the analyte. See GC vial options when you need crimp geometry or a specific neck finish.
- Headspace GC: 10 mL or 20 mL crimp or screw vial with a thicker septum and a magnetic or clamped cap, rated for the oven program. Details on septum thickness and pressure ratings live in the headspace vial range.
- Sample storage and archiving: screw-thread vials with PTFE-lined silicone or PTFE-faced septa, or a reagent bottle when volumes exceed 20 mL.
- Trace metals and ion work: ICP or ion chromatography vials with certified low extractables, often polypropylene with a specific leach profile.
Once I know the family, the rest is dimensional and chemical bookkeeping. That bookkeeping is where most buying mistakes happen, so the next sections go through it in the order I check it.
Glass: what the type number actually buys you
Vials are made from borosilicate glass, and the type matters more than most buyers realize. Type I borosilicate (expansion coefficient around 3.3 x 10^-6 per degree C) is the default for analytical work. It resists thermal shock, releases very little sodium into aqueous samples, and holds its dimensions through autoclaving. Type II is a soda-lime glass that has been surface-deactivated, and it is cheaper but less forgiving if you autoclave or store alkaline solutions. Type III soda-lime has no place in a trace analysis workflow, and I say that plainly to anyone who asks me to quote it for a pH 9 buffer.
The practical test is simple. If your sample sits in the vial for more than a few hours, or if it is alkaline above pH 8, or if you are looking for sodium, potassium, or boron at low levels, pay for Type I. If you are running a same-day screen of neutral organics and discarding the vial, Type I is still the safer default because the price difference per thousand units is small next to the cost of a repeat run.
Clear versus amber
Amber glass blocks most of the UV and visible range below about 500 nm. I use amber for anything with a conjugated system that can photodegrade: vitamins, many pharmaceuticals, pesticides in the triazine and pyrethroid families, and anything with a nitroaromatic group. A clear vial on a bench under a window can lose a meaningful fraction of a light-sensitive analyte in an afternoon. If you cannot justify amber on chemistry grounds, clear is better because you can see the sample and the autosampler can see through it.
Washed, unwashed, and certified
Glass arrives from the forming process with surface contamination: residual blowing agents, dust, and trace metals. Suppliers offer three grades. Unwashed is for non-critical work. Washed means a detergent and water rinse with a defined drying step. Certified means the supplier has run a batch extraction and reported the result against a specification, often with a certificate of analysis per lot.
For HPLC at UV wavelengths below 220 nm, or for LC-MS with a low detection limit, I specify certified vials and I keep the certificate with the lot. A single 0.1 AU baseline rise at 210 nm from a vial extractable can bury a small peak. The cost premium for certified glass is typically 20 to 40 percent, which is cheap insurance against a failed sequence.
The closure is where most failures live
I spend more time on caps and septa than on glass, because the closure is what fails in service. A septum has to do three things at once: seal against the vial, reseal after the needle withdraws, and not contaminate the sample. Those goals pull against each other, and the material you pick is a compromise.
Septum materials and what they are good for
- Silicone (usually silicone on a PTFE film): excellent reseal, good for multiple injections, but silicone alone is very permeable to gases and picks up volatiles. The PTFE film on the sample side is what protects the sample.
- PTFE-faced silicone: the workhorse for HPLC and GC liquid injection. The PTFE face is chemically inert; the silicone core gives the reseal. Rated for repeated puncture, typically 3 to 5 injections before reseal quality drops, and I have seen leakage well before that if the needle is dull.
- Bonded or laminated septa: a PTFE film bonded to silicone so it cannot delaminate during puncture. Better for autosamplers with aggressive needle guides.
- Butyl rubber: low gas permeability, good for headspace and for storage where oxygen ingress matters, but poor reseal after multiple punctures.
- PTFE/silicone with a slit: pre-slit septa reduce coring and needle bending on some autosamplers, at the cost of a small open path to the headspace. I only use pre-slit where the method allows it.
The single most common closure failure I deal with is coring: the needle punches a plug of septum material into the vial, where it can sit on the bottom and either adsorb analyte or block the needle on the next pass. Coring goes up sharply with dull needles and with high puncture counts. If you are running more than a few hundred injections per day on the same needle, budget for needle replacement on a schedule and inspect septa for plugs.
Crimp versus screw thread
Crimp closures give the most consistent seal and the lowest headspace, which is why headspace and many GC methods specify them. The trade-off is that crimping is a skill. A properly crimped 11 mm aluminum seal on a 20 mm crimp vial should be set with a crimper adjusted so the seal compresses the septum evenly; I check with a go/no-go gauge and reject any cap that rocks. Under-crimped caps leak; over-crimped caps crack the neck and cause the vial to fail in the oven.
Screw-thread vials are faster, need no tooling, and are resealable. The 9 mm screw thread is the common HPLC format, and the seal quality depends on cap torque. I specify a torque of roughly 0.9 to 1.2 N·m for a 9 mm screw cap, checked with a small torque screwdriver on the first ten caps of a lot. Too little torque and the septum does not compress; too much and you deform the cap and the septum extrudes. The GPI thread standard (GPI 9 mm, GPI 13-425, GPI 15-425, GPI 18-400, GPI 24-400) is what you match when buying caps and vials from different suppliers, and mixing thread standards is a reliable way to get leaks.
Headspace closures are a different animal
Headspace vials run at elevated temperature and often under a pressurized carrier. A 20 mL headspace vial with a butyl or PTFE/silicone septum and a magnetic cap is the usual configuration, and the septum thickness (often 3 mm for headspace versus about 1 mm for a 9 mm HPLC septum) is what gives the reseal under pressure. I match the cap to the sampler: some headspace autosamplers need a specific cap height and a magnetic ring, and a generic cap will not seat. If the oven program goes to 150 degrees C or above, check the septum temperature rating on the certificate, not the marketing page.
A dimensional checklist with real numbers
Vial dimensions are not decorative. The autosampler has a fixed needle path, and the vial has to present the septum at the right height and the sample at the right depth. Here is the checklist I run before approving any new vial for a validated method.
- Body diameter: 12 mm for standard 2 mL autosampler vials, 11.6 mm is common and within tolerance for most trays. 15 mm and 22.5 mm formats exist for larger volumes; check the tray.
- Height: 32 mm for the standard 12 x 32 mm format. A short-neck versus long-neck difference of even 0.5 mm changes needle depth and can change injection volume on some samplers.
- Neck finish: 9 mm screw for HPLC; 11 mm crimp for many GC and headspace formats; 13-425, 15-425, 18-400, 24-400 for storage and reagent bottles. Match the GPI number exactly.
- Internal volume and fill: a 2 mL vial should be filled to about 1.0 to 1.5 mL for HPLC so the needle stays submerged but the vial is not overfull. Overfilling raises the risk of the needle hitting the septum from below and of sample being pushed into the cap.
- Insert fit: a 250 microliter insert in a 2 mL vial has to sit concentric, or the needle can miss it. Check the insert base diameter against the vial internal diameter; a 0.2 mm mismatch is enough to tilt the insert.
- Septum diameter and thickness: 9 mm septum for a 9 mm cap; headspace septa are thicker as noted above. Record the thickness on the specification sheet.
I keep a physical sample of every approved vial and cap in a drawer, and any new lot is compared against it with calipers before release. That one habit has caught more supplier drift than any certificate.
Chemical compatibility and extractables
The sample sees glass and it sees the PTFE face of the septum. It does not see the silicone, the aluminum crimp, or the cap plastic, unless something goes wrong. The failure modes I plan for are these.
Adsorption. Basic analytes, especially amines, adsorb to glass. If you are running low-level basic drugs, a deactivated or silanized glass vial can recover meaningfully more than a plain one. I test this by running a low-concentration standard in both and comparing peak area; a 10 to 20 percent difference is enough to justify the deactivated vial.
Leaching. Plasticizers from cap liners and from the cap itself can appear as peaks in GC-MS. The classic is a phthalate or a siloxane. If you see a recurring peak at a fixed retention time that scales with vial age, suspect the closure. Certified low-extractable caps exist for this reason.
Permeation and evaporation. A vial stored for days loses volatile analytes through the septum. For a 2 mL vial with a 1 mm silicone septum, I have measured measurable loss of a volatile solvent over 48 hours at room temperature. If you are archiving, use a PTFE-lined septum, fill with minimal headspace, and cap with proper torque.
Light and temperature. Clear glass plus a warm bench is a degradation pathway. Amber plus a cool, dark storage location is the fix. For long-term storage, a reagent bottle with a ground-glass or PTFE-lined screw closure is more appropriate than a 2 mL vial.
Instrument-specific selection
Different instrument families impose different constraints, and the vendor documentation is the place to confirm them. For Agilent systems, the autosampler tray geometry and the recommended vial and cap combinations are documented in their chromatography consumables literature. For Thermo Fisher systems, the sample handling guidance sits alongside their chromatography product documentation. I always cross-check the vial height and cap style against the instrument manual before a first run, because a vial that is 1 mm too tall can cause a needle crash that costs a service call.
For method-driven work, the method text is the authority. Many U.S. EPA methods under SW-846 specify vial and preservation requirements, and a validated method will name the vial type and the hold time. Restek’s technical resources are a good place to check recommended consumables against a specific method. If the method says a 40 mL VOC vial with a specific septum, do not substitute a 20 mL vial because it is cheaper.
Autosampler compatibility in practice
Three things go wrong most often. First, the cap height: a cap that is a fraction of a millimeter too tall can foul the gripper. Second, the septum hardness: a hard septum bends dull needles and increases coring. Third, the vial bottom: a conical or rounded bottom changes the needle depth at low fill volumes. If you are running a 100 microliter injection from a 2 mL vial, the bottom geometry matters more than the brand.
Buying: what to put in the specification
When I write a purchase specification, I include the following, because a vague request invites substitution.
- Glass type (Type I borosilicate) and color (clear or amber).
- Dimensions: body diameter, height, neck finish (GPI number).
- Volume and fill guidance.
- Wash grade and certification requirement, with a certificate of analysis per lot.
- Septum material and thickness, with the sample-side face called out (PTFE).
- Cap material, torque target, and crimp or screw type.
- Packaging: how many per case, and whether the case is lot-traceable.
- Acceptance test: dimensional check against a retained sample, and an extractables check on the first lot.
On price, the spread between a generic unwashed vial and a certified one is real but small in the context of a failed sequence. A single repeat of a 96-injection HPLC run costs more in instrument time and analyst time than the difference on a case of a thousand vials. I tell buyers to optimize for consistency across lots, not for the lowest unit price, because a lot-to-lot dimensional change is what breaks a validated method.
Lead time and inventory
Vials are a commodity with a long tail. Standard 12 x 32 mm clear screw vials are usually in stock; specialty formats (amber, deactivated, large-volume headspace, specific GPI caps) can run weeks. I keep a two-month buffer on the specialty items and a one-month buffer on the standard ones. I also keep a small reserve of the exact lot in use for a validated method, because a method transfer or an audit may require you to demonstrate the vial you ran with.
Troubleshooting checklist
When a run fails and the vial is a suspect, I work through this list in order. It is faster than guessing.
- Ghost peaks at a fixed retention time: run a blank vial from the same lot with clean solvent. If the peak persists, it is the vial or cap. Check the septum liner and the cap plastic.
- Low or variable injection volume: check fill level, vial height, and needle depth. Compare against a retained reference vial with calipers.
- Leaks in headspace: check crimp or cap torque, septum thickness, and whether the cap matches the sampler. A pressure decay test on a known standard will show it.
- Coring or needle damage: inspect septa after a run for plugs; replace needles on schedule; consider bonded septa or pre-slit where the method allows.
- Baseline rise at low UV: switch to certified low-UV vials and re-run the blank.
- Loss of volatile analyte on storage: check septum material and storage time; move to a PTFE-lined septum and minimize headspace.
- Adsorption of basic analytes: compare a deactivated vial against the current one at low concentration.
My recommendation
For a general analytical lab running HPLC and GC liquid injection, I standardize on 12 x 32 mm Type I borosilicate vials, 2 mL, 9 mm screw thread, certified washed, with a PTFE-faced silicone septum and a torque target of 0.9 to 1.2 N·m. Clear for general work, amber for light-sensitive analytes, deactivated glass for basic compounds at low levels. For headspace, I move to 20 mL crimp vials with a 3 mm butyl or PTFE/silicone septum and a magnetic cap matched to the sampler, and I verify the septum temperature rating against the oven program. For storage beyond a few days, I use a PTFE-lined septum and a properly torqued cap, or I move the sample to a reagent bottle if the volume justifies it. The full range of vial formats is at vials-filters.com, and the headspace and GC formats are covered on the linked supplier pages.
The takeaway is this: a vial is a precision interface, not a cup. Specify the glass type, the dimensions, the neck finish, the septum material and thickness, and the certification level, and hold every lot to a retained sample. The cost of doing that is a few minutes per purchase order. The cost of skipping it is a failed sequence, a repeat run, and an analyst who no longer trusts the data.
References & further reading
Related resources from our lab consumables network:
- Vial at vials-filters.com
- Headspace Vial at headspacevialsupplier.com
- Gc Vial at gcvialfactory.com
- Reagent Bottle at reagentbottleforsale.com
External references and standards: