
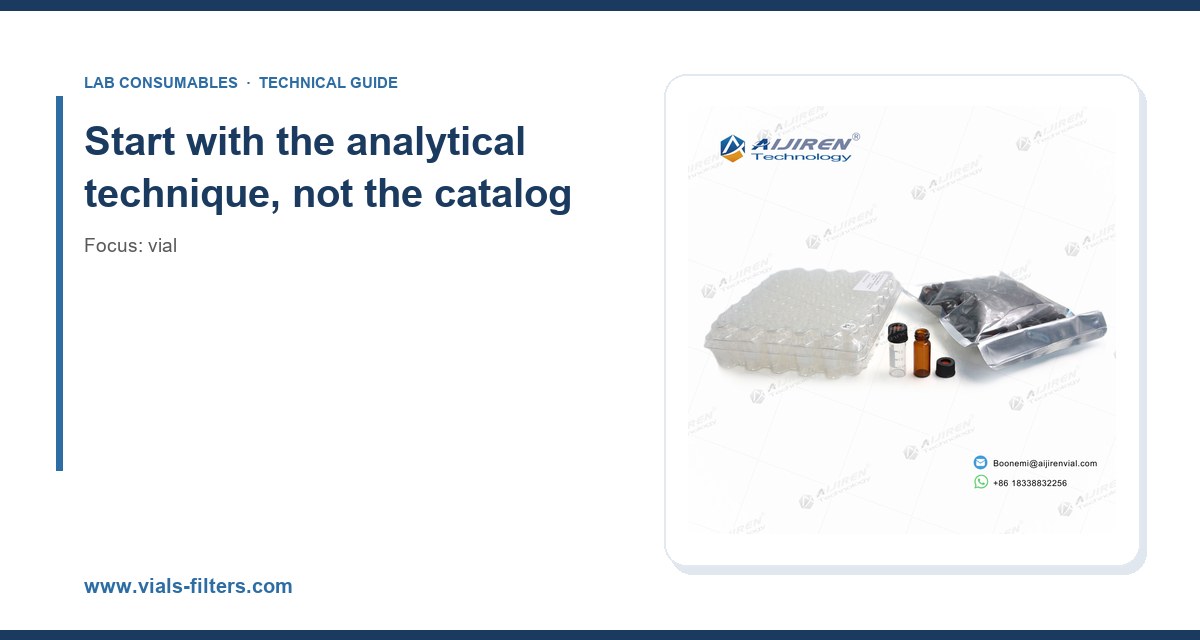
I once watched a lab lose three weeks of method validation because a buyer saved $40 on a case of vials. The septa were a hair too thin, the crimp didn’t seal evenly, and the autosampler needle coring left silicone shards in the injection port. The chromatograms looked like a barcode. Nobody could reproduce a calibration curve, and the root cause lived in a purchase order nobody had looked at since. That is the whole reason I take vial selection seriously: it is the cheapest component in the workflow and the most common source of silent, expensive failure.
This guide is what I wish I had handed that buyer. It covers materials, dimensions, closures, septa, temperature limits, puncture budgets, and the specific numbers you need to put in a specification before you send a request for quote. I’ll be opinionated where the data supports it and concrete everywhere.
The single biggest mistake in vial buying is choosing by appearance or by what’s on the shelf. The correct starting point is the instrument and the method. A vial that works beautifully on an HPLC autosampler can be a disaster on a headspace sampler, and vice versa. Before you open any catalog, answer four questions.
- What is the injection mode? Liquid autosampler, headspace, SPME, or purge-and-trap. Each imposes different geometry and sealing demands.
- What is the sample chemistry? pH, ionic strength, presence of proteins, halogens, or trace metals. This drives glass type and septum choice.
- What is the temperature and pressure cycle? Room temperature injection is a different problem than 200 °C headspace equilibration.
- What is the detection limit? Parts-per-billion work punishes extractables and adsorption that parts-per-million work ignores.
Write those four answers down. Every decision below flows from them.
Glass: the part most buyers ignore
Vials are made from three glass types in practice: Type I borosilicate, Type II dealkalized soda-lime, and Type III soda-lime. The USP and the European Pharmacopoeia define these under USP <660> and Ph. Eur. 3.2.1. For analytical work you want Type I borosilicate, full stop. It has a low coefficient of expansion (roughly 3.3 × 10⁻⁶ /°C for borosilicate 3.3), excellent hydrolytic resistance, and it won’t shed alkali into your sample the way soda-lime can.
Type I is graded by hydrolytic resistance. The best analytical vials meet USP Type I, Class A or the equivalent. If your method involves basic analytes, low-level metals, or long hold times in the autosampler, this is not negotiable. I’ve seen soda-lime vials push sodium and calcium into solution at the 50 to 200 ppb level over 24 hours, which is enough to ruin an ICP-MS run and enough to shift a buffered HPLC method.
Amber versus clear
Amber glass blocks light below about 500 nm, which protects photosensitive analytes like vitamins, some antibiotics, and many natural products. The tradeoff is that you cannot visually inspect the sample for particulates or phase separation. My rule: use amber for anything you know degrades under lab lighting (fluorescent tubes emit meaningful UV), and clear everywhere else so operators can see what they’re injecting. If you need both, buy amber and inspect under a bright task lamp before capping.
Surface treatment and silanization
For proteins, peptides, and basic compounds, untreated borosilicate glass adsorbs. A silanized (often called “deactivated”) surface reduces that. The cost premium is real, roughly 2 to 4× standard vials, so don’t specify it unless you’ve seen the problem. The test is simple: run a low-concentration standard through the vial, hold it 24 hours, and re-inject. If recovery drops more than 5%, you need deactivation or a different vial chemistry.
Dimensions and the standards that govern them
Vial geometry is not arbitrary. Autosamplers are built around a small set of dimensions, and the industry has converged on a handful of formats. Get these numbers wrong and the needle either misses the sample or punches through the septum at an angle.
The 2 mL standard
The workhorse is the 12 × 32 mm vial, nominal 2 mL, with a crimp or screw neck. The two neck styles are not interchangeable in hardware terms:
- 11 mm crimp neck: sealed with an aluminum crimp cap and a septum. Requires a crimper and decapper. Highest seal integrity, best for volatile work and long-term storage.
- 9 mm screw thread: sealed with a screw cap. No tools. The standard is loosely defined but the community reference is the GPI 9 mm thread (Glass Packaging Institute). Cap torque matters; more on that below.
There is also a 10 mm screw format and a 13 mm screw format used on some older instruments. Check your autosampler tray and needle height before you order. A 12 × 32 mm vial with the wrong neck simply won’t seat.
Microvolume and large-volume formats
When sample is scarce, the 6 × 32 mm microvial (often 300 to 400 µL) or the insert-inside-a-2-mL-vial approach saves the day. Inserts come in pulled-point, conical, and flat-bottom styles, typically 150 to 250 µL capacity, and the conical “pulled point” version lets you inject down to 5 to 10 µL residual volume. That residual number is the one to specify. If your method needs 20 µL and your insert leaves 30 µL dead volume, you have a problem the catalog photo won’t show you.
At the other end, headspace vials are commonly 20 mm crimp neck, 22.5 × 75 mm, nominal 20 mL, with a flat or rounded bottom. These are a separate ecosystem from 2 mL vials and need their own caps, septa, and crimper. If you run volatile organics by GC, this is your format. I keep a dedicated crimper for 20 mm and never let it get used on anything else, because a mis-set crimp depth on headspace vials is a guaranteed leak at 80 °C.
Closures and septa: where leaks and coring happen
The septum is the most consequential $0.10 in the entire workflow. It is also the part most often swapped for a cheaper equivalent without anyone noticing until the data drifts.
Septum materials and what they’re for
- Silicone (pure): excellent reseal, poor chemical resistance to nonpolar solvents, high bleed. Good for aqueous samples at moderate temperature.
- Silicone/PTFE faced: the PTFE face contacts the sample and resists solvents; the silicone provides reseal. This is the default for most HPLC and GC liquid injections. Temperature ceiling around 200 °C for short headspace cycles.
- Butyl rubber: low gas permeability, good for headspace and long-term storage, but poor solvent resistance. Watch for sulfur-containing extractables if you run sulfur-sensitive detectors.
- Bonded or laminated septa: PTFE bonded to silicone, reducing the chance of the layers separating during multiple punctures. Worth the premium for high-throughput autosamplers.
The number to spec is puncture count before failure. A good 9 mm silicone/PTFE septum holds a seal for roughly 50 to 100 punctures in typical use; cheap ones start coring at 10 to 20. Coring is the failure mode that puts silicone shards in your needle and your column. If you run more than 50 injections per vial, either buy bonded septa or accept that you’re gambling.
Crimp versus screw: an honest comparison
I get asked this constantly. Here’s the decision table I actually use:
| Criterion | 11 mm crimp | 9 mm screw |
|---|---|---|
| Seal integrity under pressure | Excellent; consistent if crimper is set right | Good; depends on cap torque and septum |
| Tools required | Crimper and decapper | None |
| Reusability | Cap is single-use; vial can be cleaned | Cap and vial both reusable a few times |
| Evaporation over 24 h (aqueous, RT) | < 1% with good crimp | 1 to 3% depending on torque |
| Typical torque | N/A (crimp depth ~ 0.1 to 0.2 mm) | ~ 1.5 to 2.0 in·lb (hand-tight plus a quarter turn) |
| Best for | Volatiles, headspace, long storage | High-throughput, aqueous, quick turnaround |
If your method involves volatile analytes or storage beyond a few hours, crimp. If you run hundreds of aqueous samples a day and want operators to move fast, screw. Don’t mix the two in one method.
Temperature, pressure, and the limits nobody reads
Every vial and septum has a temperature ceiling, and exceeding it is the second most common cause of bad data after coring. The numbers that matter:
- Standard 2 mL borosilicate vial: usable to about 200 °C for short cycles; continuous use above 150 °C stresses the glass and the cap.
- Silicone/PTFE septum: 200 °C short-term, 150 °C continuous. Above that the silicone degrades and bleeds.
- Butyl septum: 120 to 140 °C practical ceiling.
- Headspace vials (20 mm): routinely run at 40 to 200 °C equilibration; the cap and septum, not the glass, are the limiting factor.
Pressure is the other half. A sealed vial heated to 100 °C develops meaningful internal pressure. If the crimp is shallow or the septum is thin, the cap lifts and you lose the volatile fraction silently. I set crimp depth with a gauge, not by feel, and I check it monthly against a reference vial. A crimper that has drifted 0.1 mm will pass a visual inspection and fail a leak test.
Matching vial to workflow: a decision checklist
Here is the checklist I hand to procurement. Work through it in order; the first “yes” usually decides the format.
- Is the sample volatile or is the method headspace? If yes, go to a headspace vial, 20 mm crimp, 22.5 × 75 mm, with a butyl or bonded silicone/PTFE septum rated to your equilibration temperature.
- Is the sample volume below 100 µL? Use a 6 × 32 mm microvial or a 2 mL vial with a pulled-point insert (150 to 250 µL, residual < 10 µL).
- Is the analyte photosensitive? Amber glass, and store away from the autosampler’s indicator lights.
- Is the analyte a protein, peptide, or strong base at low concentration? Silanized/deactivated Type I glass; verify recovery over 24 hours.
- Is throughput the priority and the sample aqueous? 9 mm screw, 12 × 32 mm, torque 1.5 to 2.0 in·lb, bonded septum.
- Is long-term storage or a volatile method involved? 11 mm crimp, 12 × 32 mm, aluminum cap, silicone/PTFE septum, crimp depth checked with a gauge.
For GC work specifically, the geometry and septum choice interact with the inlet more than most people realize, and it’s worth cross-referencing a dedicated GC vial specification against your inlet liner and needle gauge before you commit to a case quantity.
What actually goes wrong: a troubleshooting checklist
These are the failure modes I’ve debugged most often, with the fix. Keep this on the bench.
Symptom: drifting retention times and ghost peaks
Usually septum bleed or coring. Check septum age and puncture count first. If the septum is a cheap silicone without a PTFE face, replace it with a faced or bonded septum. Run a blank injection with a fresh vial and septum; if the ghost peaks vanish, you’ve found it.
Symptom: low recovery on low-concentration standards
Adsorption to glass. Switch to deactivated vials or add a small amount of organic modifier or a carrier protein. Verify by holding a standard in the vial for 24 hours and re-injecting; more than 5% loss means the surface is the problem.
Symptom: inconsistent peak areas across a run
Evaporation or a leaking cap. Check torque on screw caps (aim for 1.5 to 2.0 in·lb) or crimp depth on crimp vials. Weigh a filled vial before and after a 24-hour hold; more than 1% mass loss is a seal problem.
Symptom: needle bending or “no sample” errors
Wrong vial height or a mis-seated insert. Confirm the vial is 12 × 32 mm and fully seated in the tray. A 10 mm neck vial in a 9 mm tray will sit high and the needle will hit the shoulder.
Symptom: particulates in the injection port
Coring. Replace septa more often, use bonded septa, and check needle gauge against the septum diameter. A 22-gauge needle through a thin septum at high speed cores faster than a 26-gauge at low speed.
Buying: the specification sheet you should send
Most vial problems are procurement problems. If the request for quote doesn’t specify the numbers, you get whatever the distributor has in stock. Put these on the sheet:
- Glass: Type I borosilicate, USP <660> compliant, Class A hydrolytic resistance.
- Dimensions: 12 × 32 mm (or 6 × 32 mm, or 22.5 × 75 mm for headspace).
- Neck: 11 mm crimp or 9 mm screw (GPI 9 mm thread).
- Septum: silicone/PTFE faced or bonded, temperature rating stated in °C, puncture count stated.
- Cap: aluminum crimp or polypropylene screw, with stated torque range.
- Cleanliness: certificate of analysis, and for trace work, a stated extractables profile.
- Packaging: vials and caps in separate sealed bags to avoid particulate contamination in transit.
Ask for the certificate of analysis with the lot number, not just a datasheet. A distributor who can’t produce a CoA for the lot you’re buying is telling you something. For reference specifications, the instrument vendors publish detailed consumable compatibility tables, and it’s worth cross-checking your shortlist against the Agilent chromatography consumables documentation and the Thermo Fisher chromatography and sample handling resources before you finalize a format.
Storage, handling, and the small habits that save runs
Even a perfect vial fails if it’s handled badly. A few rules I enforce on the bench:
- Store vials and caps in their sealed bags until use. An open bag on a bench collects dust that shows up as baseline noise.
- Never reuse a crimp cap. The aluminum work-hardens and the seal is gone.
- Screw caps can be reused two or three times at most; the septum, not the cap, is the wear item, and it’s cheaper to replace the septum than to rerun the batch.
- Fill vials to no more than about 75% of nominal volume. Overfilling causes back-pressure and can push sample into the septum during headspace equilibration.
- Cap immediately after filling. A vial open on the bench for five minutes loses volatile analytes and picks up lab air.
- Keep a torque wrench and a crimp depth gauge at the bench, calibrated annually. This is the cheapest insurance in the lab.
Where reagent bottles and larger containers fit
Not every sample is a 2 mL injection. Prep standards, mobile phases, and bulk sample storage belong in larger containers, and the same material logic applies. A borosilicate reagent bottle with a ground-glass or PTFE-lined screw closure is the right choice for mobile phase and standard stock, and it keeps the same Type I glass chemistry that protects your analytes in the autosampler. Don’t store a 500 mL standard in a soda-lime bottle and then wonder why the calibration drifts over a week.
For the full range of vial formats and closures, the vial catalog is the place to start, and it’s worth comparing the septum specifications across formats before you standardize on one neck style across the lab.
Regulatory and method references worth knowing
If your lab works under regulated methods, the vial is part of the method, not an accessory. A few references I keep handy:
- USP <660> for glass containers and hydrolytic resistance classification.
- Ph. Eur. 3.2.1 for the European equivalent.
- EPA SW-846 for waste and materials testing methods, which specify sample container and preservation requirements; the U.S. EPA SW-846 test methods page is the authoritative source and worth bookmarking for container and holding-time tables.
- AOAC methods for food and agricultural work, which often specify vial and septum types in the method text.
For method development and troubleshooting beyond the vial itself, the Restek technical resources library has good practical notes on septa, inlet maintenance, and injection technique that pair well with the numbers above.
My recommendation in one paragraph
For most HPLC and GC liquid-injection labs, standardize on 12 × 32 mm Type I borosilicate vials with a 9 mm screw neck for aqueous high-throughput work and an 11 mm crimp neck for volatile or long-storage work. Use silicone/PTFE faced or bonded septa rated to at least 150 °C continuous, specify a puncture budget of 50 to 100, and check screw cap torque at 1.5 to 2.0 in·lb and crimp depth with a gauge. For headspace, move to 20 mm crimp, 22.5 × 75 mm vials with butyl or bonded septa and set the crimper once, then leave it alone. Buy Type I glass with a CoA, store it sealed, and never let a buyer substitute a cheaper septum without a recovery and leak test. The vial is the cheapest part of the run and the most common reason a run fails; treat the specification like it matters, because it does.
References & further reading
Related resources from our lab consumables network:
- Vial at vials-filters.com
- Headspace Vial at headspacevialsupplier.com
- Gc Vial at gcvialfactory.com
- Reagent Bottle at reagentbottleforsale.com
External references and standards: