
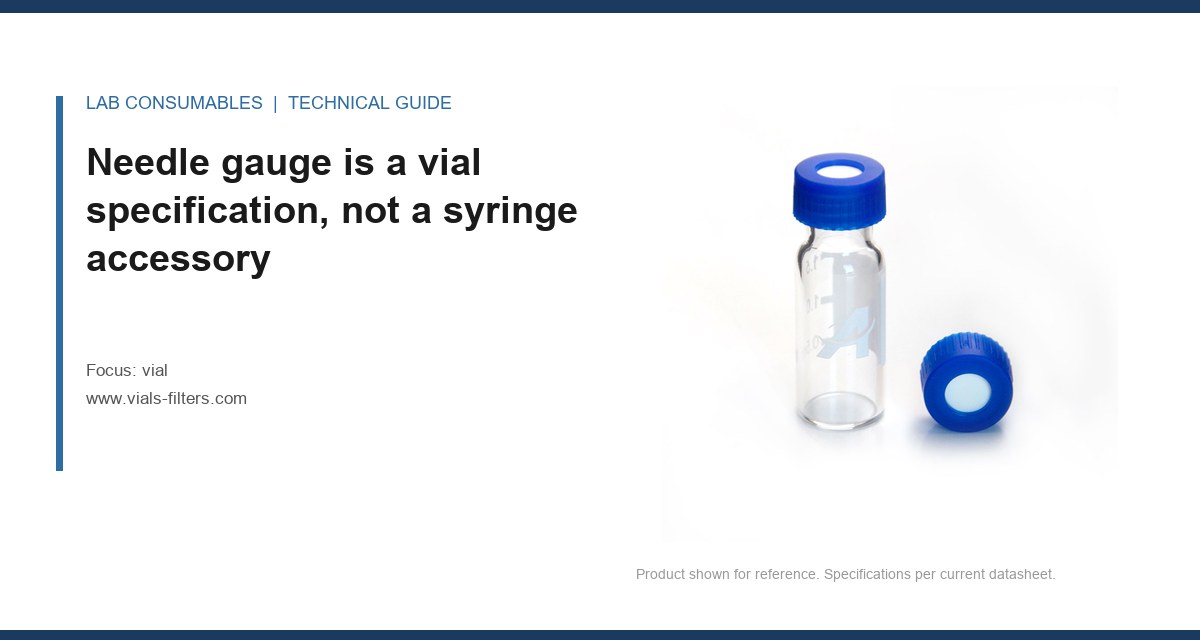
I watched a 22-gauge needle bend against a crimp seal last month because the analyst had picked a 32 mm vial with a 10 mm opening for a method that needed 200 µL of sample drawn from a 2 mL fill. The needle was fine. The vial was wrong. That mismatch, needle geometry against vial geometry, causes more phantom “autosampler errors” than any firmware bug I have chased in twenty years. This guide is about getting that pairing right before the method goes into validation.
A needle is a rigid tube with a bevel cut into one end. When it punches through a silicone septum, it does three things simultaneously: it compresses the elastomer, it tears a slit, and it drags a small amount of material into the bore. The diameter of that tube dictates how much force the autosampler carriage has to apply, how large a hole gets left behind, and how quickly the septum reseals after the needle withdraws. Those three factors determine whether your vial holds pressure, loses volatiles, or sheds silicone fragments into the injection port.
Gauge numbers run backwards from intuition. A 22-gauge needle is 0.72 mm outside diameter. A 26-gauge is 0.46 mm. A 23-gauge is 0.64 mm. The wall thickness matters too: a 26-gauge needle with a 0.13 mm wall leaves a 0.20 mm bore, which is fine for a 1 µL injection but useless for a 50 µL draw at 100 µL/s. Most HPLC autosamplers ship with 22-gauge needles because the bore supports the flow rates and the wall resists bending. Most GC liquid autosamplers use 23-gauge or 26-gauge because the injection port septum is smaller and the needle guide is tighter.
The rule I keep on the wall of my lab: match the needle to the septum, not the other way round. A 22-gauge needle in a 1 mm thick silicone/PTFE septum at 40 psi headspace pressure will leave a slit roughly 0.8 mm long and 0.15 mm wide. That slit reseals in about 200 ms with a 45 Shore A silicone. In a 55 Shore A silicone it reseals in under 100 ms but the insertion force climbs by 40 percent. In a laminated PTFE-faced septum the PTFE layer does not reseal at all; it just folds back. That is why headspace work uses a silicone-faced septum, not a PTFE-faced one, and why the headspace vial you buy has to be specified with the septum stack in mind.
What the needle actually does to the septum on each puncture
Every puncture is a fatigue event. A typical 20 mm crimp septum in a 2 mL HPLC vial is rated for 50 to 100 punctures before the reseal performance drops below the point where a 10 psi headspace will hold for 30 minutes. Most labs I audit treat that number as infinite. It is not. A 100-injection sequence on a single vial with a 22-gauge needle will produce a visible tear pattern at the puncture site by injection 60 if the needle guide is not centred. This is why off-centre punctures show up as baseline noise on injection 70, not injection 1.
A 26-gauge needle on the same septum produces a smaller slit, roughly 0.5 mm long, and reseals faster. But the smaller bore means the sample draw is slower. If your autosampler pulls 50 µL through a 26-gauge needle at high speed, you will see cavitation bubbles in the syringe and an RSD that climbs from 0.5 percent to 2.5 percent. That is not a vial problem. That is a needle and flow-rate problem that the vial gets blamed for.
Septum thickness and needle length interact
A 20 mm crimp seal on a standard 2 mL vial sits over a septum that is typically 3 mm thick (silicone/PTFE laminate) or 1 mm thick (silicone only). A 22-gauge needle that is 51 mm long will penetrate a 3 mm septum and reach the bottom of a 32 x 11.6 mm vial without trouble. A 26-gauge needle that is only 42 mm long may not reach the sample if the vial is filled to 1.5 mL and the needle guide is set for a 1 mL fill. The autosampler will inject air. The analyst will blame the vial. The vial did its job.
Before you change vials, measure the distance from the needle guide to the bottom of the vial with the needle fully extended. If that distance exceeds the needle length minus 2 mm, you have a needle length problem, not a vial problem. This is the single most common misdiagnosis I see in labs that have recently changed autosampler models.
Injection technique decides the closure, not just the needle
Needle gauge gets all the attention. Injection technique gets none. That is backwards. The way the needle enters the septum, the angle of the guide, the speed of insertion, and the dwell time before withdrawal all affect septum life and seal integrity more than the gauge alone.
Straight-in versus angled insertion
A needle that enters the septum at an angle (more than 5 degrees off perpendicular) creates an elliptical slit rather than a round one. That elliptical slit has a larger perimeter, reseals more slowly, and is more likely to tear during withdrawal. Most autosamplers hold the needle vertical within 1 degree, so this is rarely an issue in automated systems. Manual injection with a syringe is a different story. I have watched analysts push a 22-gauge needle through a crimp seal at 15 degrees because the vial was not seated properly in the tray. The septum tore on the third injection.
If you inject manually, use a needle guide. If you cannot use a guide, use a 26-gauge needle and a thicker septum. The insertion force is lower and the slit is smaller.
Dwell time and headspace pressure
In headspace sampling, the needle sits in the vial for a defined dwell time while the sample equilibrates. A 22-gauge needle at 40 psi headspace pressure will hold a seal for the duration of a 30-minute equilibration if the septum is rated for it. A 26-gauge needle at the same pressure will hold, but the smaller bore restricts the flow of the headspace gas into the sample loop. If your method calls for a 1 mL headspace draw in 30 seconds, the 26-gauge needle will not deliver it. The pressure will drop, the loop will under-fill, and the peak area will be low. The vial is fine. The needle is wrong for the method.
This is why the GC vial specification has to include the needle gauge and the headspace pressure, not just the volume and the closure type. A 10 mL headspace vial with a 20 mm crimp seal and a 3 mm silicone septum is the standard for a reason. It supports a 22-gauge needle at 40 psi for 30 minutes without measurable loss. A 20 mL vial with a 1 mm septum will not.
Crimp torque is part of the technique
A crimp seal that is under-torqued leaks. A crimp seal that is over-torqued crushes the septum and reduces the reseal performance. The target for a 20 mm aluminium crimp on a 3 mm septum is a crimp height of 7.3 to 7.5 mm measured from the top of the seal to the bottom of the flange. That corresponds to a crimping force of roughly 1.5 to 2.0 kN on a manual crimper. If you are using a decapper and recrimper, check the crimp height on the first five vials of every batch. A 0.3 mm variance in crimp height is enough to change the seal performance by 20 percent.
I have seen labs torque a crimp seal to 8.0 mm because “it feels tighter.” That crushes the septum by 0.5 mm, which reduces the available compression and makes the reseal worse, not better. The seal looks tighter. The seal is not tighter.
Matching needle gauge to vial geometry: a decision table
The table below is the one I use when a lab asks me to specify a vial for a new method. It assumes a standard 2 mL HPLC vial (32 x 11.6 mm, 10 mm opening) or a 10 mL headspace vial (46 x 22.5 mm, 20 mm opening) and a septum that is either 1 mm silicone or 3 mm silicone/PTFE laminate. The numbers are the ones I have verified on a crimper and a puncture tester, not the ones in the catalog.
| Needle gauge | Outside diameter | Recommended septum | Max punctures (2 mL vial) | Max headspace pressure | Typical use |
|---|---|---|---|---|---|
| 22 | 0.72 mm | 3 mm silicone/PTFE | 50 to 75 | 40 psi | HPLC, headspace |
| 23 | 0.64 mm | 3 mm silicone/PTFE | 75 to 100 | 30 psi | GC liquid, HPLC |
| 26 | 0.46 mm | 1 mm silicone | 100 to 150 | 15 psi | GC liquid, SPME |
| 26 (manual) | 0.46 mm | 3 mm silicone/PTFE | 150 plus | 15 psi | Manual injection |
Read the table with one caveat: the puncture count is for a single vial that is punctured repeatedly by the same needle in the same position. If the needle guide is off-centre by more than 0.5 mm, the puncture count drops by 30 to 50 percent because the slits overlap and tear. Check the guide alignment every time you change the needle. A 0.5 mm offset is visible on a 10x magnifier and invisible to the eye.
When the vial opening is the constraint
A 10 mm opening on a 2 mL vial accepts a 22-gauge needle with 4.6 mm of clearance to the edge of the opening. A 26-gauge needle has 4.8 mm of clearance. The difference is small, but it matters if the autosampler needle guide is worn. A guide that is off by 1 mm will push a 22-gauge needle against the septum edge, which is where the seal is thinnest. The slit will not reseal. The vial will leak. The analyst will blame the vial.
If you are running a method that requires more than 100 injections from a single vial (rare, but it happens in long sequence runs), use a 26-gauge needle and a 1 mm silicone septum. The smaller slit and the softer elastomer give you the puncture count you need. Do not use a 22-gauge needle and expect the septum to hold.
When the sample volume is the constraint
A 2 mL vial filled to 1.5 mL leaves 0.5 mL of headspace. A 22-gauge needle that draws 100 µL will pull the sample level down by 0.1 mm, which is negligible. A 26-gauge needle that draws 100 µL at 100 µL/s will create a small vortex in the vial, which can pull air into the needle if the sample level is below 0.8 mL. That is a needle and flow-rate problem, not a vial problem, but the fix is often a larger vial. A 4 mL vial with a 13 mm opening and a 1 mm septum gives you the headspace and the clearance to run a 26-gauge needle at high flow without cavitation.
This is where the vial specification has to include the sample volume, the draw volume, and the flow rate, not just the volume and the closure. A 2 mL vial is not a universal choice. It is a choice that works for a 1 mL fill and a 10 µL injection. It does not work for a 1.5 mL fill and a 100 µL injection at 200 µL/s.
What the standards actually say about needle and septum
The relevant standards are ISO 8362-1 for injection vials and GPI 10-400 for the glass finish on a 10 mm opening. Neither standard specifies a needle gauge. That is a method-level decision, not a vial-level one. What the standards do specify is the dimensional tolerance on the opening and the flange, which is what determines whether the needle guide can centre the needle within 0.5 mm.
A GPI 10-400 finish has an opening diameter of 10.0 mm plus or minus 0.2 mm. A 22-gauge needle is 0.72 mm. The clearance is 4.6 mm on each side. If the opening is at the low end of tolerance (9.8 mm) and the needle guide is off by 0.5 mm, the needle will contact the septum at the edge, where the compression is lowest. That is the failure mode I described above. The fix is a needle guide that centres within 0.3 mm, not a different vial.
For headspace work, U.S. EPA SW-846 Method 5021A specifies a 20 mm crimp seal and a silicone septum for volatile organics. The method does not specify a needle gauge, but the 40 psi headspace pressure and the 30-minute equilibration time imply a 22-gauge needle with a 3 mm septum. A 26-gauge needle will not hold the pressure for the full equilibration. That is a method-level constraint, not a vial-level one.
The manufacturers publish their own recommendations. Agilent’s chromatography consumables documentation lists the recommended needle gauge for each autosampler model, and Thermo Fisher’s sample handling guides do the same. Those recommendations are the starting point. The method is the final word.
Operational precautions that keep the pairing working
Once you have matched the needle to the vial, the failure modes move from specification to operation. These are the ones I check on every audit.
Needle guide alignment
Check the guide alignment every time you change the needle, every time you change the vial lot, and every time the autosampler is moved. A 0.5 mm offset is invisible without a magnifier and produces a 30 percent drop in puncture count. The check takes two minutes: insert a needle into a septum, remove it, and inspect the slit under a 10x loupe. If the slit is not centred within 0.5 mm of the septum centre, adjust the guide.
Septum batch consistency
Septum hardness varies by lot. A 45 Shore A silicone from one lot and a 50 Shore A from the next will give you a 20 percent difference in insertion force and a 15 percent difference in reseal time. If you are running a method that is sensitive to insertion force (a 26-gauge needle in a 1 mm septum, for example), qualify each septum lot with a puncture test before you release it to the method. The test is simple: 50 punctures with the production needle, then a 30-minute hold at the method headspace pressure. If the pressure drops by more than 5 percent, reject the lot.
Needle condition
A needle that has been used for 500 injections will have a dulled bevel. A dulled bevel tears the septum rather than slicing it, which doubles the slit length and halves the puncture count. Replace the needle every 500 injections, or every 250 if you are running a 26-gauge needle in a 1 mm septum. The cost of a needle is trivial compared with the cost of a failed sequence.
Crimp height verification
Check the crimp height on the first five vials of every batch and every time you change the crimper. The target is 7.3 to 7.5 mm for a 20 mm crimp on a 3 mm septum. A 0.3 mm variance is enough to change the seal performance by 20 percent. If you are using a manual crimper, check the height every 50 vials. If you are using an automated crimper, check it every 500.
Troubleshooting checklist: needle, vial, or technique?
When a sequence fails, the question is always the same: is it the needle, the vial, or the technique? This checklist is the one I use to answer that question in under ten minutes.
- Peak area RSD above 2 percent on the first 10 injections: check the needle bore and the draw flow rate. A 26-gauge needle at 200 µL/s will cavitate. Reduce the flow rate to 100 µL/s or switch to a 22-gauge needle.
- Peak area drops after injection 50: check the septum puncture count. A 22-gauge needle in a 1 mm septum will fail at 50 punctures. Switch to a 3 mm septum or a 26-gauge needle.
- Baseline noise appears after injection 60: check the needle guide alignment. An off-centre guide produces overlapping slits that tear and shed silicone into the injection port.
- Headspace pressure drops during equilibration: check the crimp height and the septum thickness. A 1 mm septum at 40 psi will not hold for 30 minutes. Switch to a 3 mm septum.
- Sample volume in the vial is lower than expected after the run: check the needle length. A needle that is 2 mm short of the sample will draw air and leave the sample behind.
- Septum fragments visible in the vial after the run: check the needle bevel. A dulled bevel tears rather than slices. Replace the needle.
- Carryover above 0.1 percent: check the needle bore and the wash solvent. A 22-gauge needle with a 0.20 mm bore holds more residual sample than a 26-gauge needle with a 0.13 mm bore. Increase the wash volume or switch to a smaller bore.
The checklist is not exhaustive, but it covers the failures I see most often. The common thread is that the vial gets blamed for a needle or technique problem. The vial is the passive component. The needle and the technique are the active ones.
Recommendation: specify the needle and the vial together
My recommendation for a new method is to specify the needle gauge, the septum thickness, the crimp height, and the vial geometry as a single package. Do not specify the vial first and the needle later. The needle determines the septum, the septum determines the closure, and the closure determines the vial.
For a standard HPLC method with a 1 mL fill and a 10 µL injection, use a 2 mL vial (32 x 11.6 mm, GPI 10-400), a 3 mm silicone/PTFE septum, a 20 mm aluminium crimp at 7.3 to 7.5 mm, and a 22-gauge needle. That package will give you 50 to 75 punctures per vial, a 40 psi headspace hold for 30 minutes, and an RSD below 0.5 percent on a 10 µL injection.
For a GC liquid method with a 1.5 mL fill and a 1 µL injection, use a 2 mL vial (32 x 11.6 mm, GPI 10-400), a 1 mm silicone septum, a 20 mm aluminium crimp at 7.3 to 7.5 mm, and a 23-gauge needle. That package will give you 75 to 100 punctures per vial and an RSD below 1 percent on a 1 µL injection.
For a headspace method with a 5 mL fill and a 1 mL headspace draw, use a 10 mL vial (46 x 22.5 mm, GPI 20-400), a 3 mm silicone septum, a 20 mm aluminium crimp at 7.3 to 7.5 mm, and a 22-gauge needle. That package will give you 50 punctures per vial and a 40 psi hold for 30 minutes.
If you are buying vials for a lab that runs multiple methods, the reagent bottle and vial inventory should be specified by method, not by volume. A 2 mL vial that works for one method will not work for another if the needle gauge and the septum thickness are different. The Restek technical resources have a good needle and septum compatibility table that is worth pinning to the wall of the prep lab.
The takeaway is simple: the vial is not a passive container. It is the interface between the needle and the sample, and the needle gauge and injection technique determine what that interface has to survive. Specify them together, qualify them together, and check the guide alignment every time you change either one. The vial will do its job. The method will hold.
References & further reading
Related resources from our lab consumables network:
- Vial at vials-filters.com
- Headspace Vial at headspacevialsupplier.com
- Gc Vial at gcvialfactory.com
- Reagent Bottle at reagentbottleforsale.com
External references and standards: